
Magnets are great. They help you stick the most important stuff you wish you could ignore to your fridge.
But the thing with magnets is that they're even better when you don't totally hate the sight of them.
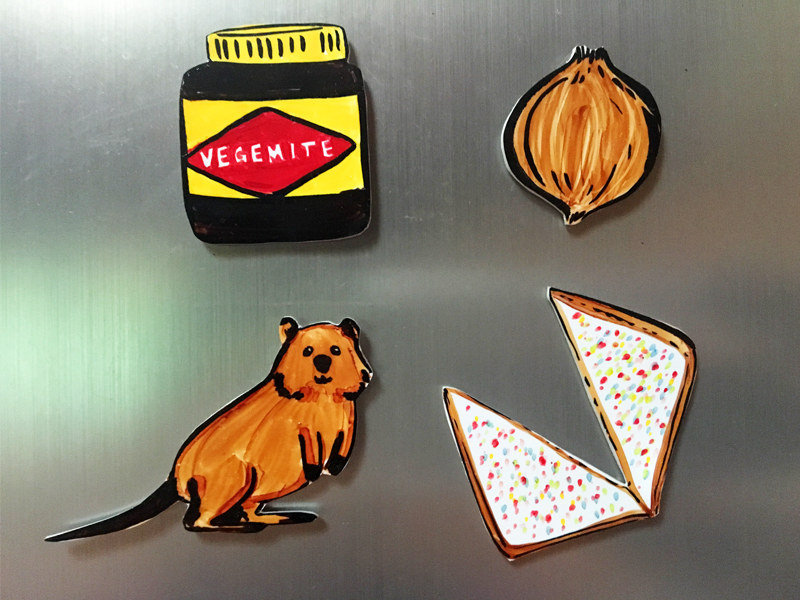
This is a simple guide to making the most Australian magnets ever that also happen to be pretty damn cute.
There's a smiling quokka, a big slice of fairy bread, a jar of Vegemite, and of course, an onion, to honour ex-prime minister Tony Abbott as we head into another election.
Here's what you'll need to get started:
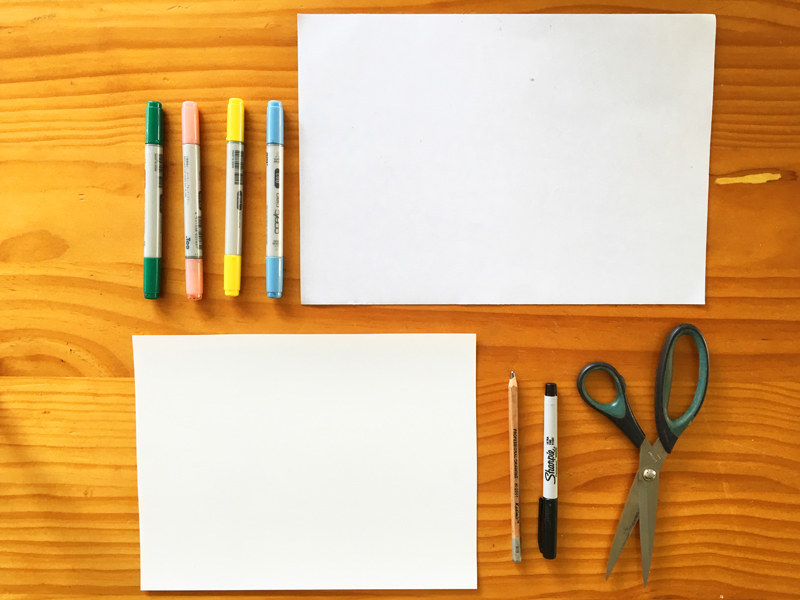
1. Practice your sketches.


If you're supremely confident, you can go ahead and draw right on the shrink plastic. For those of you who are a little more afraid of failure, it's better to sketch out your magnet with pencil first.
It's important to make your sketches about twice as big as you want the final magnets to be, as they are going to shrink.
2. Trace your sketches on to the shrink plastic.


Shrink plastic is quite transparent, so you can place the plastic over your sketches and draw your magnets onto it with your markers. But be careful, because the plastic is slippery and no mistake can ever be undone.
When you bake your magnets, the colours will get darker and the details sharper, so colour things in a little lighter than you want them to turn out.
3. Cut out your plastic sketches and get them ready to bake


Once baked the plastic ends up being very rigid, so try not to leave any super sharp corners.
Next, put some baking paper on to a baking tray, place your cut-outs on the baking paper. Now you've read the work "baking" three times, you're ready to bake!
Never put the shrink plastic right onto a metal baking tray as the plastic will stick to the tray and you'll have to add that to the long list of regrets in your life. Don't say you weren't warned.
4. Bake away!


Pop your shrinky dinks in the oven and watch them curl up.
They'll curl in and then out again in about five minutes. Wait until they've gone completely flat and stopped moving before taking them out of the oven.
5. Take the shrinky magnets out of the oven and admire your work.


Your magnets will still be soft and flexible while they're hot, so leave them alone until they're cool - unless you want to bend them into a fun shape, of course.
6. Attach the magnet bit to your plastic bit and stick your works of art to the nearest fridge.


If you're using sheet magnet, you can cut out a shape that fits on the back of your plastic. If you're using magnetic discs, just bung 'em on wherever you think they'll work. Some shapes might need more than one magnet.
Whether you're using hot glue or super glue, give the glue some time to set.
7. Enjoy magnets forever and ever and ever.